So you have bought a train set and want to know where to go next? What turns a toy train in to a layout?
Baseboards
The best thing you can do is get a baseboard. you don’t need to be a carpenter. There are several companies that make high quality baseboards. The lead time is 6 – 10 weeks. Some are made out of softwood and some are entirely made of plywood. Additionally you can get flat packed kits, made to order, at a reasonable cost. For example a 600mm x 1200mm kit is £76.
Inspiration
Exhibitions and Museums can be a good source of inspiration. The Layout below is at the Ribble steam railway. This is a simple track plan with three ovals.
Extra Track
Ebay is a good source of cheap track Freetrackplans.com is also useful for ideas.
Track geometry can be complicated. Hornby has four different radii. It is best to follow a design done by someone else . Then you will not be buying the wrong track and expensive points.
Types of Layout.
This is another complicated subject although there are two main types, Mainline and branch line. Ovals can simulate mainlines with an up and down route. The problem with mainlines is that they need a lot of space. The minimum is probably 6′ x 4′ . Even this takes a big chunk out of a room.
Branch lines can look more realistic, an 8′ x 2′ board placed along a wall is adequate for this. The disadvantage is that you can’t just leave a train running. If you are using short wheel base locomotives it is a good idea to use electrofrog points.
Welcome to another retro review, here we look at the The Triang – Hornby R.423 Brake 2nd Maroon Coach. This model was in the range from 1962-69 and can be had for £15 – £40. Model images, the author.
Dapol wagon kits are a quick and easy way to add to your rolling stock collection. You don’t need to be a kit building expert, just follow the simple tips below.
The ex-Kitmaster, ex-Airfix wagon kits, now available from Dapol, are a cheap way to add rolling stock. There are, however, a few issues to keep in mind when building them.
The mouldings are not exactly finescale, so just have fun!
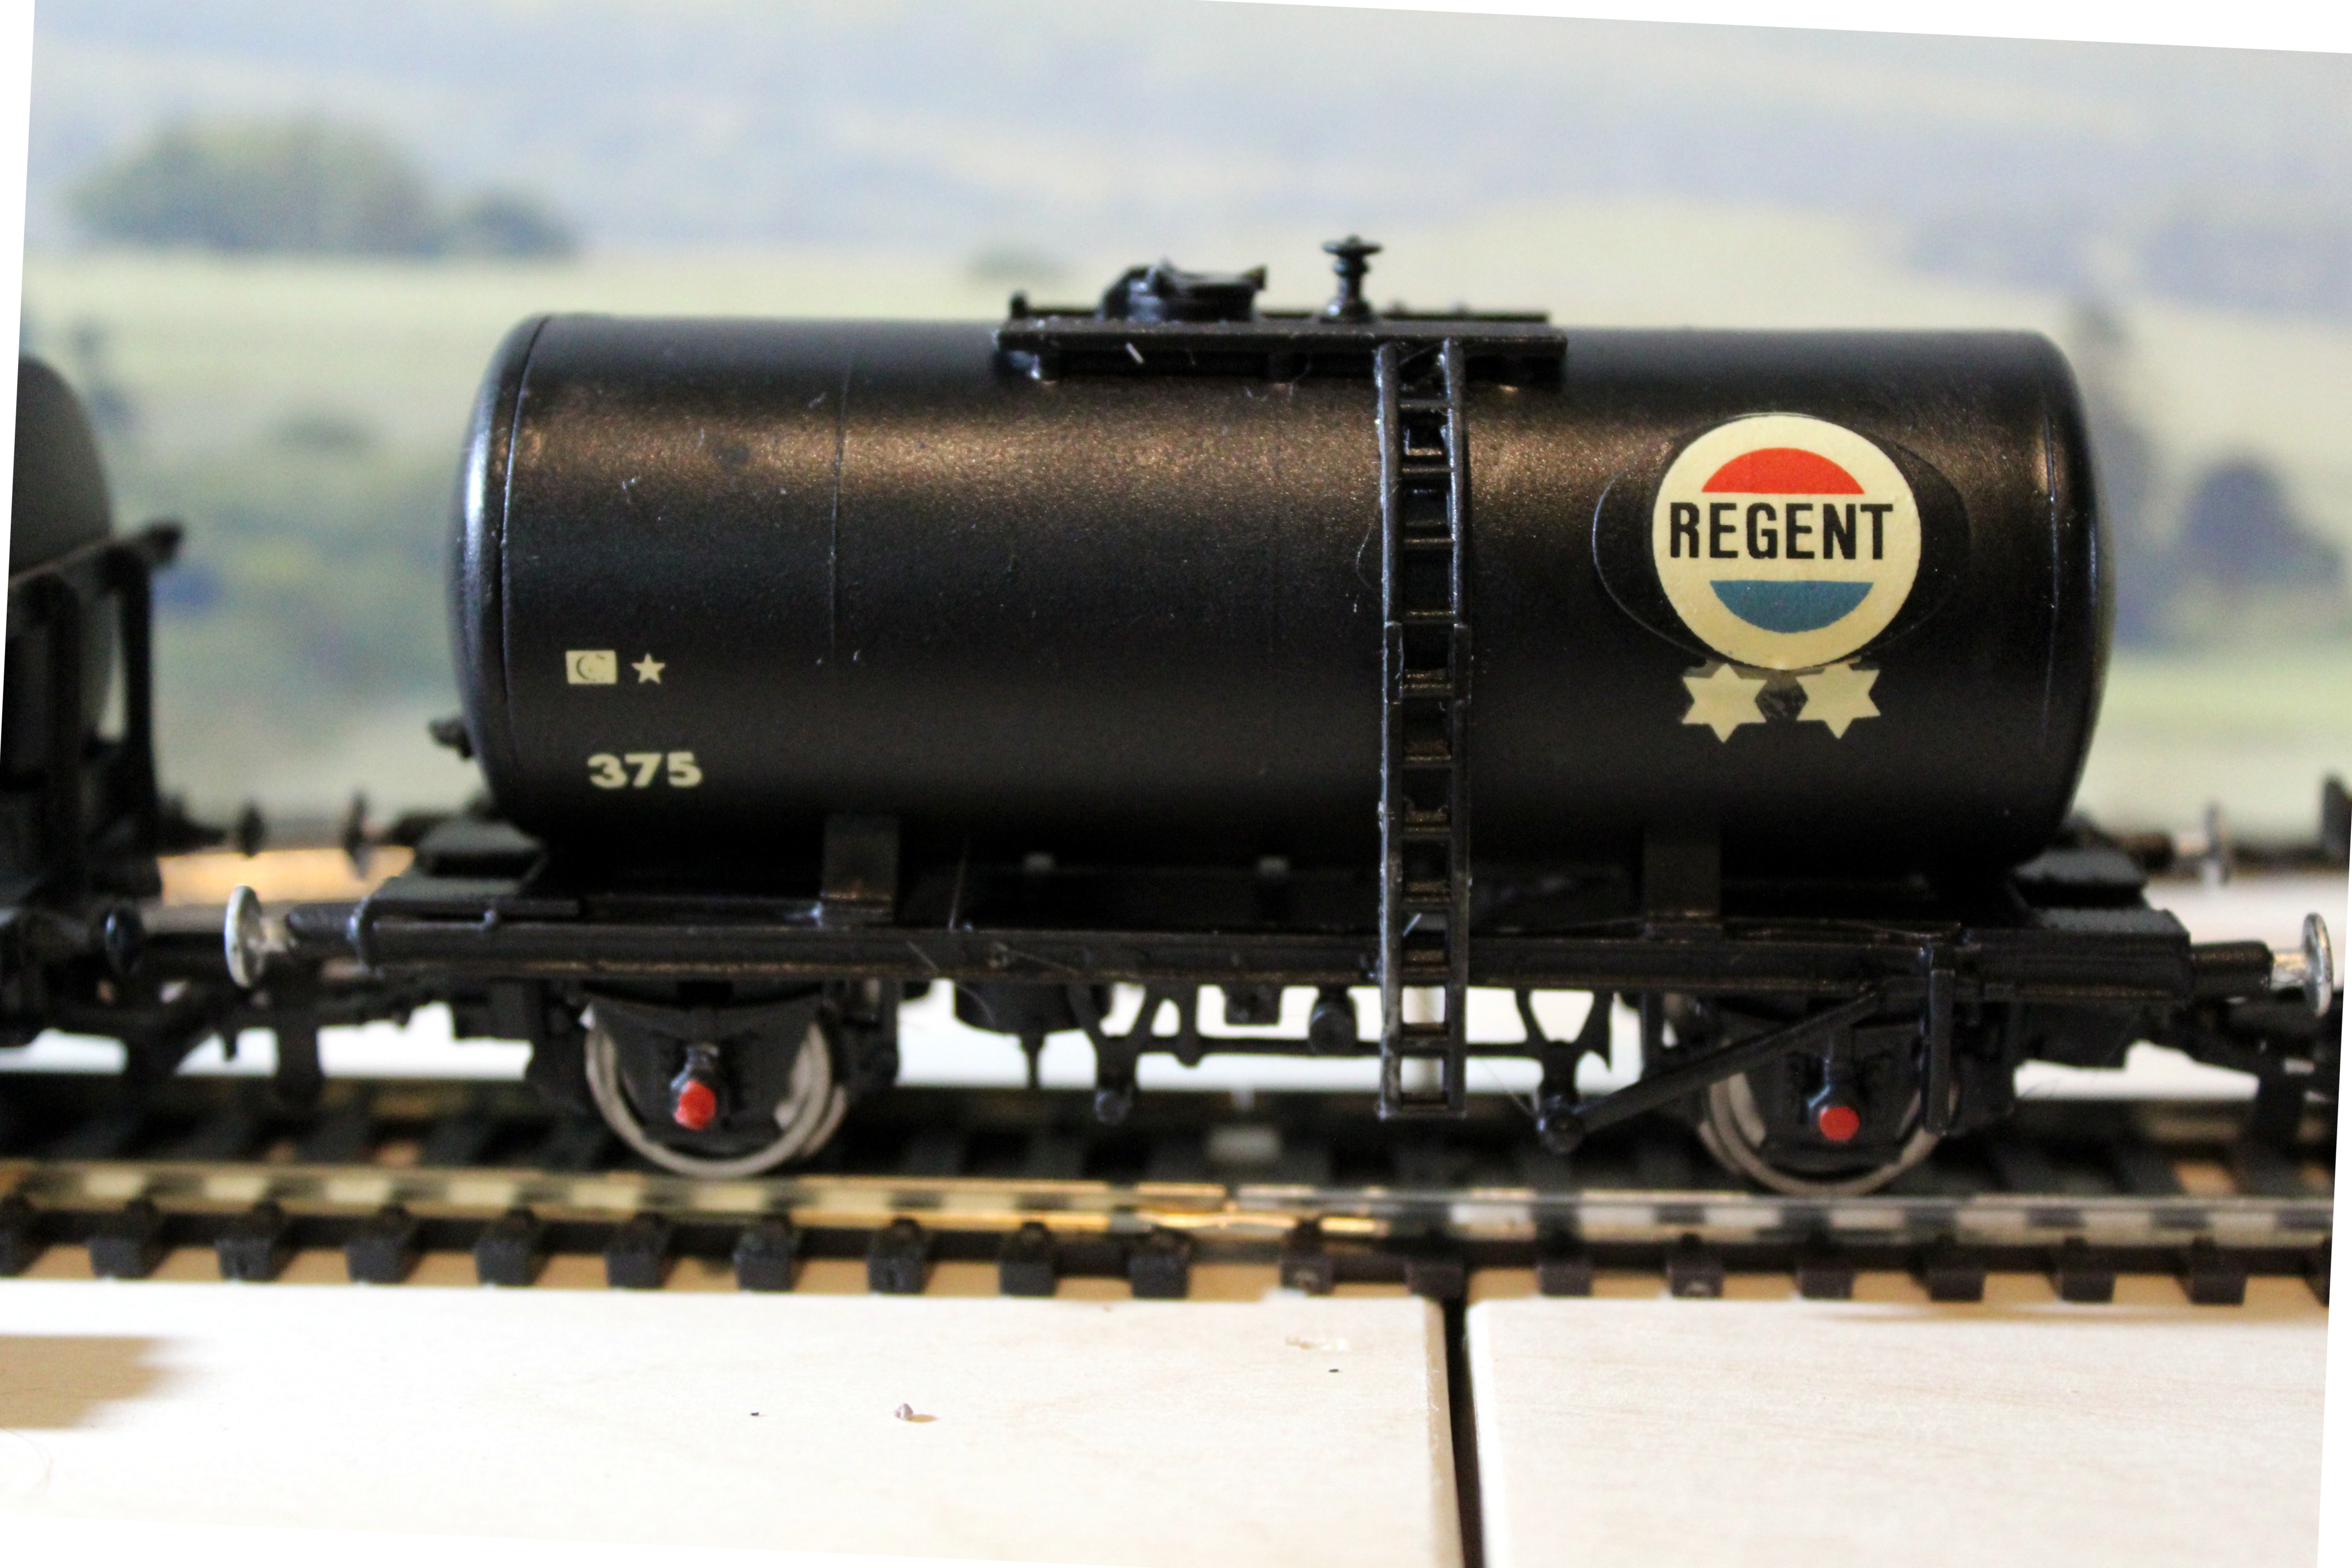
Dapol tanker kit with borrowed Hornby wheels. It was sprayed after the underframe was assembled.
Building the kit
Contrary to what you will read elsewhere, assemble the main components before painting. It is far easier to attach small parts if they are not covered in paint. Tube, plastic cement is more than adequate.
Leave off the vacuum pipes as they will foul the couplings. You can use the buffer beam hooks but cut of the hanging chain links. The buffers will most likely need some flash removing. The brakes are probably the most fiddly things to fit. Do this last with the wheels in place, as a guide.
Painting
Firstly, assemble the underframe and tank or body before painting. Then buy a cheap spray can of matt black paint.
You can get a large can for £5, from Wilko. Use a wooden stick or dowel and clamp it onto the frame with a bulldog clip or similar. With some parts, you can temporarily glue the “handle” on. You will them be able to manoeuvre the model while spraying all those awkward corners. Use short blasts and keep the model moving. You might need a couple of coats.
Once sprayed, take a large lump of Plasticine and press in down onto a flat surface. Push the stick with the parts on it, into the Plasticine and leave to dry.
You can spray the whole underframe in about 60 seconds. Compare that to hand painting!
Weights
The best material to weight the models is good old Plasticine. It is heavy, cheap as chips and easy to keep in place. The tanker model has a “sausage” of Plasticine in the tank. Just remember to put it in there before gluing on the end cap!
Wheels
The finescale metal wheels provided, tend to fall off the track! They have a minuscule flange and would not stay on even 3rd radius curves. You should be OK if you have very good track work. I “borrowed” some Hornby wheels, and , yes, The wagon stayed upright! The original plastic wheels from the kit also seen to work OK.
Couplings
NEM Couplings are provided. You will need to remove various protuberances from the buffer beams before fitting. I cut the locating pip off them and used a small amount of epoxy to hold them on. This gives you some manoeuvring time.
Push another wagon up against end end of the kit build and connect the couplings. You can use the other wagons to keep the kit couplings at the correct high and angle, while the glue sets.
Decals
The provided decals had yellowed varnish, however,most of this washes off when fitting. when the decals have dried, give the model a top coat of matt varnish. This will make the finish more durable and seal in the decals.
You could also try some other liveries with the tank wagon using third party decals.
Although not up to modern standards the Hornby Princess Coronation Class Locomotive – City Of Nottingham( R.2383) is a good runner and can be had for £80 – £100. So is it a good model? This version dates form 2004 – 2005.
Replacing elderly low powered 0-6-0 locomotives was a task the LMS gave to the designer George Ivatt. He came up with a 2-6-0 design that had a 3000 gallon tender with 4 ton coal capacity. 128 2MT’s were built between 1946 and 1953. The LMS made 20 and BR then took up construction. The 2MT was a good general workhorse and seen mostly in the North and on the Western region. Some ran till the end of steam and there are seven in preservation.
The prototype Brush type 2, class 31, Diesel electric locomotive.
The Triang class 31 was based on the Brush type 2, later class 31 Locomotive. The prototype class 31 had a complicated history, with various engine changes and design upgrades. Some class 31’s remain certified for main line use today. All photos the author except the electric blue loco.
Rovex plastics LTD had been formed just after WW II. They made injection moulded plastic toys for Marks and Spencer. The injection moulding process was relatively new at the time. Previously, toys were made out of tin plate.
So you just bought a train set, looking at that lovely locomotive, you want to get it running as soon as possible. Opening the box, you are faced with a cornucopia of bits, How do you set it up? Here is quick guide that will have you running trains in no time. Screen grabs from RC Empire.
What are the best train sets to buy in 2019? How do you start in the model railway hobby? Train sets are one option. Here I look at the best value sets available now.
This website uses cookies to improve your experience. We'll assume you're ok with this, but you can opt-out if you wish.AcceptRejectRead More
Privacy & Cookies Policy
Privacy Overview
This website uses cookies to improve your experience while you navigate through the website. Out of these, the cookies that are categorized as necessary are stored on your browser as they are essential for the working of basic functionalities of the website. We also use third-party cookies that help us analyze and understand how you use this website. These cookies will be stored in your browser only with your consent. You also have the option to opt-out of these cookies. But opting out of some of these cookies may affect your browsing experience.
Necessary cookies are absolutely essential for the website to function properly. This category only includes cookies that ensures basic functionalities and security features of the website. These cookies do not store any personal information.
Any cookies that may not be particularly necessary for the website to function and is used specifically to collect user personal data via analytics, ads, other embedded contents are termed as non-necessary cookies. It is mandatory to procure user consent prior to running these cookies on your website.