
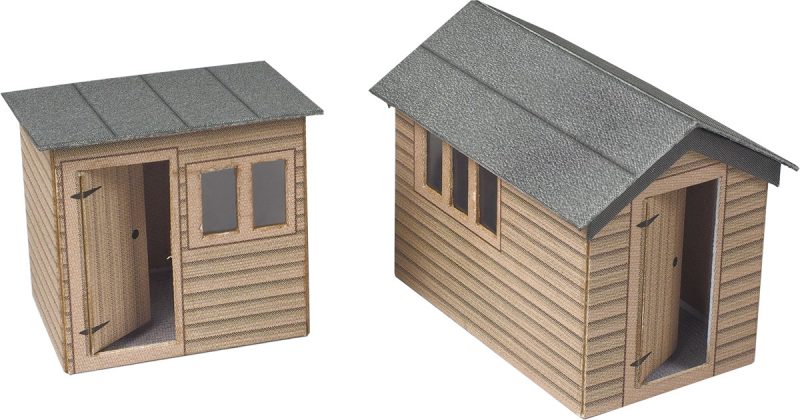
Metcalfe kits are seen in most model shops and are well made, so what do you need to build them successfully?
Building Metcalfe kits – This is how I build Metcalfe kits for our kit build service. The methods may differ from the instructions! I have built some kits 20 or 30 times so I know the quickest and easiest way to avoid the pitfalls!
Metcalfe Kits – Use a cutting mat and heavy knife.
You may be wondering why you need a knife with a die-cut kit. Metcalfe kits keep the parts in place by leaving uncut areas that have to be cut to release the part. A good heavy knife will give neater results than something thin and light , like a scalpel.
The lighter type of knife can make it difficult to get a good cut. I use a good old Stanley knife, these have a heavy steel body and you can keep your spare blades inside. Card blunts blades very quickly.
Next, build as you go! Keep all the parts on the sheet including the windows. Don’t do as recommended in the instructions, and cut everything out, it is too easy to lose something.
Types of glue – problems with UHU.

Keep your tip clean. With UHU tubes, remove any glue build up on the tip, it causes stringing. The biggest enemy with UHU is stringing. You can guarantee that a “string” of glue will land on the largest window in the kit as you as move the tube over your building mat. A little isopropyl alcohol will remove the glue from the window, if this happens.
There are two types of UHU glue, one uses a solvent, and dries quickly. The solvent free type takes a lot longer to dry.
Glue sticks for Metcalfe kit building
The cheap stick glue you can get from pound shops is better for large flat areas. I prefer the pound shop glue to Pritt, it is less “gloopy” and seems to go on more smoothly.
PVA pain
PVA glue can take forever to dry, especially in cold weather, you can use a trick some professional model makers use to dry paint. See below, The other problem with PVA is warping. Card and water do not mix.
Use fold back paper clips

Use the fold back type of paper clip to hold parts in place while they set. These are handy for holding but jointed walls, as used in the service station kit.
Painting inside windows

Most of the kits will need the window openings colouring. I use the solid block type of watercolour paint. Dip your brush in clean water are rub it onto the paint block for about 30 seconds. Paint the window insides, from the back to prevent paint from getting onto the printed area. Solid paint blocks can also be bought in 10’s, on Ebay.
Chimneys and curtains
The paper type of chimney is probably my least favourite job. Once cut out they can be wrapped around a 4mm dowel or a paint brush handle. Put a dab of UHU on the end of the roll to hold it in place.
A quicker alternative to the Metcalfe curtains, which are fiddly to cut out, is coloured card or paper. Pastel colours work best.
Use the card that pushes out from the windows to make stand offs for the curtains. Finally, make sure than the curtains are not too long as this will stop the floors from seating properly.
Laser cut parts.
Some laser cut parts benefit from pre-scoring. Especially the terraced row shop front surrounds. The folds do not bend very well without a light scoring. Take care not to cut through.